3D Blocks: turn any photo into a SketchUp model
Found the perfect chair in a reference image? The Blocks tab converts the photo into a textured 3D model and imports it straight into your scene.
The Blocks tab solves a classic: the client wants a specific furniture piece that doesn't exist in the 3D Warehouse. Send a reference photo and the AI rebuilds the object in 3D, textured, ready to import into the scene at the right scale.
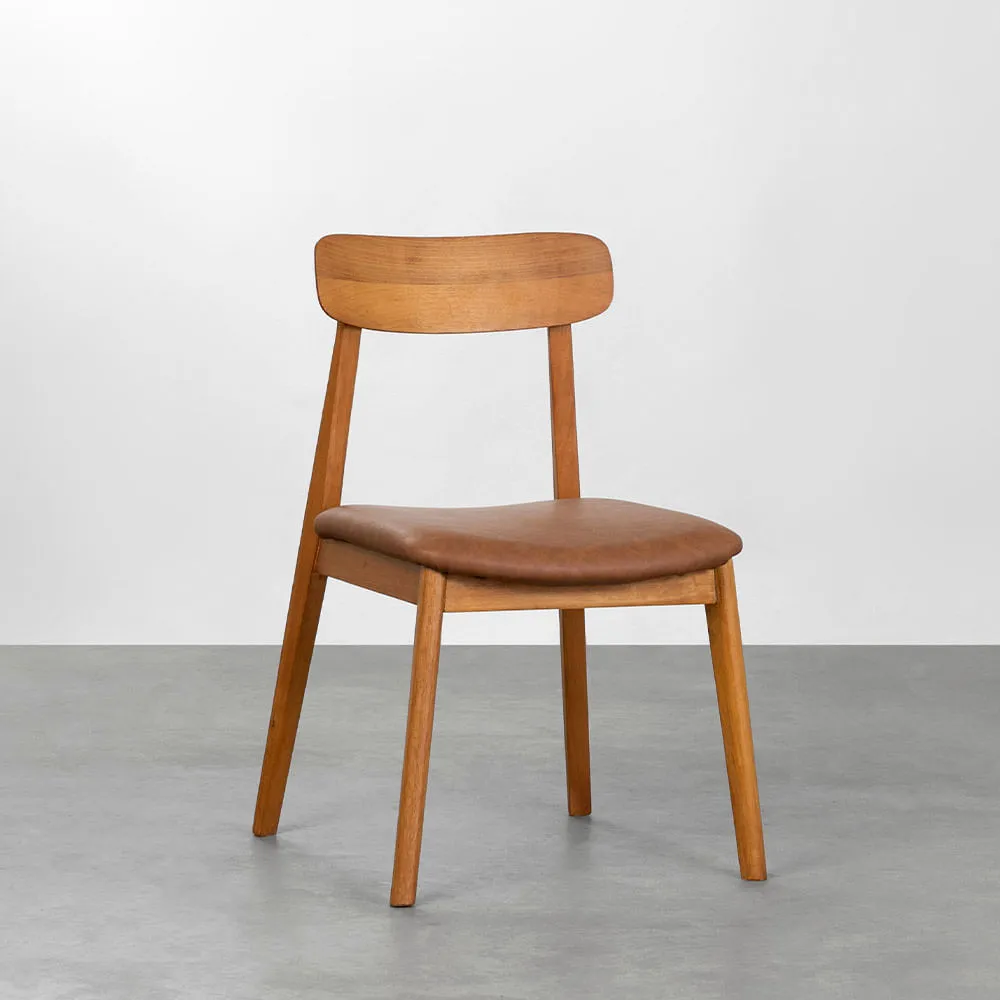
How to generate
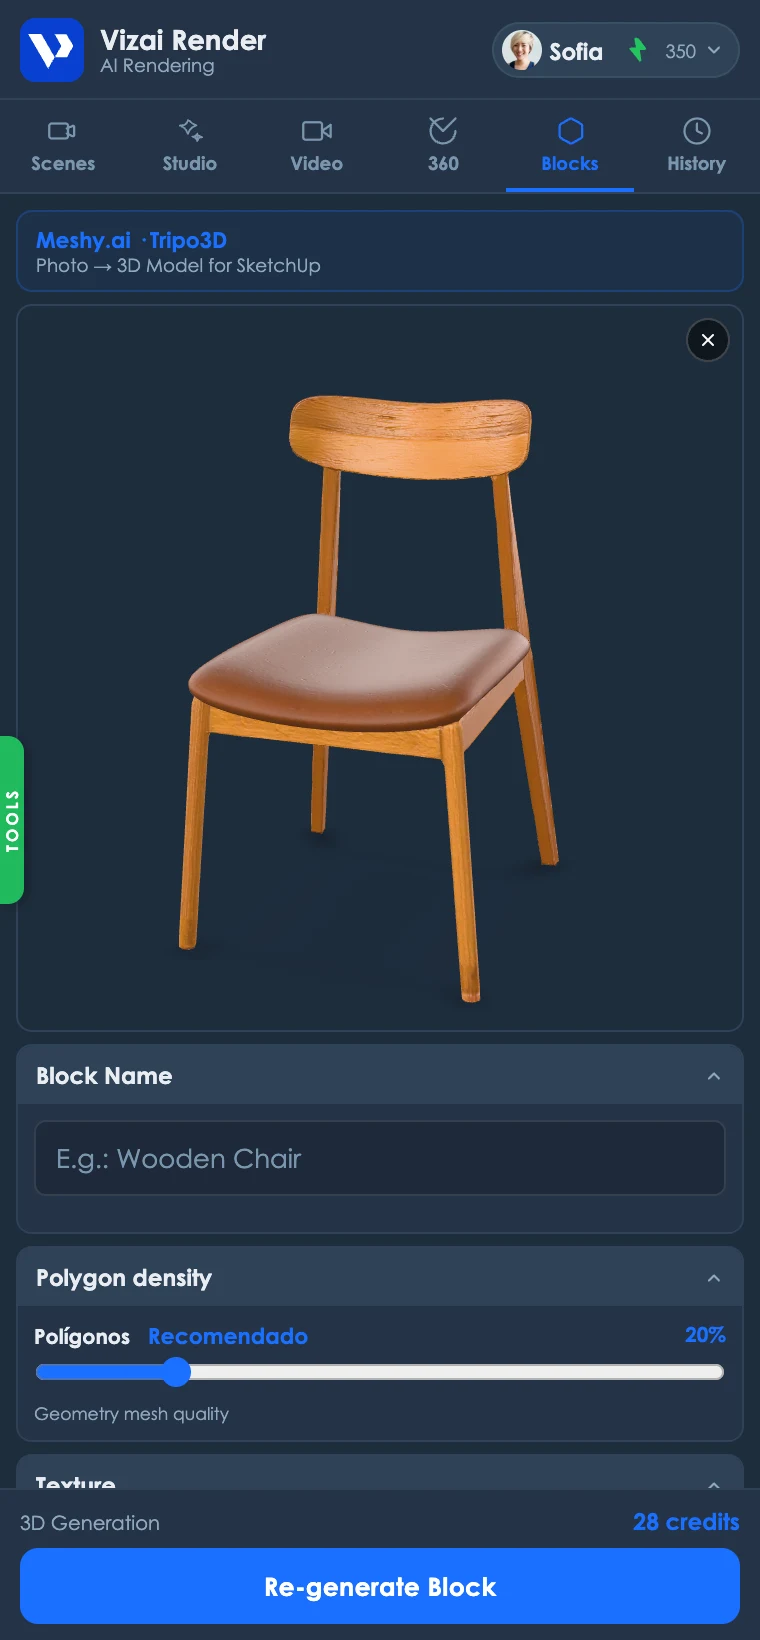
- 1Add the reference photo
Drag or click to upload. Works best with the whole object visible, well lit and on a clean background.
- 2Name the block
The name keeps the component organized in your model (e.g. “Wooden Chair”).
- 3Choose the polygon density
Light, Recommended, Heavy or Ultra. For SketchUp, Light or Recommended keep the file snappy.
- 4Texture
With PBR texture (the photo's colors and materials) or geometry only, to apply your own materials.
- 5Import or download
Import into scene drops the block straight into the model; or download the .GLB to use in any software.
Heavy/Ultra density blocks can slow down large files. If you overdo it, the Tools window (Component Impact) shows which blocks are weighing things down, and the Optimize File guide fixes it.
Ready to try it yourself?
Create your account, install the plugin and get 8 free credits on your first login.