360° Panorama: immersive presentations your client can explore
Mark the wall and where you stand: SketchUp captures the whole room and the AI returns a spherical panorama your client explores through a link, with nothing to install.
The 360 tab turns your space into an interactive spherical panorama straight from the model, with nothing rendered beforehand. You mark where the camera goes and the plugin handles the rest. Your client gets a link, opens it in the browser (desktop or phone) and explores the space by dragging the image.
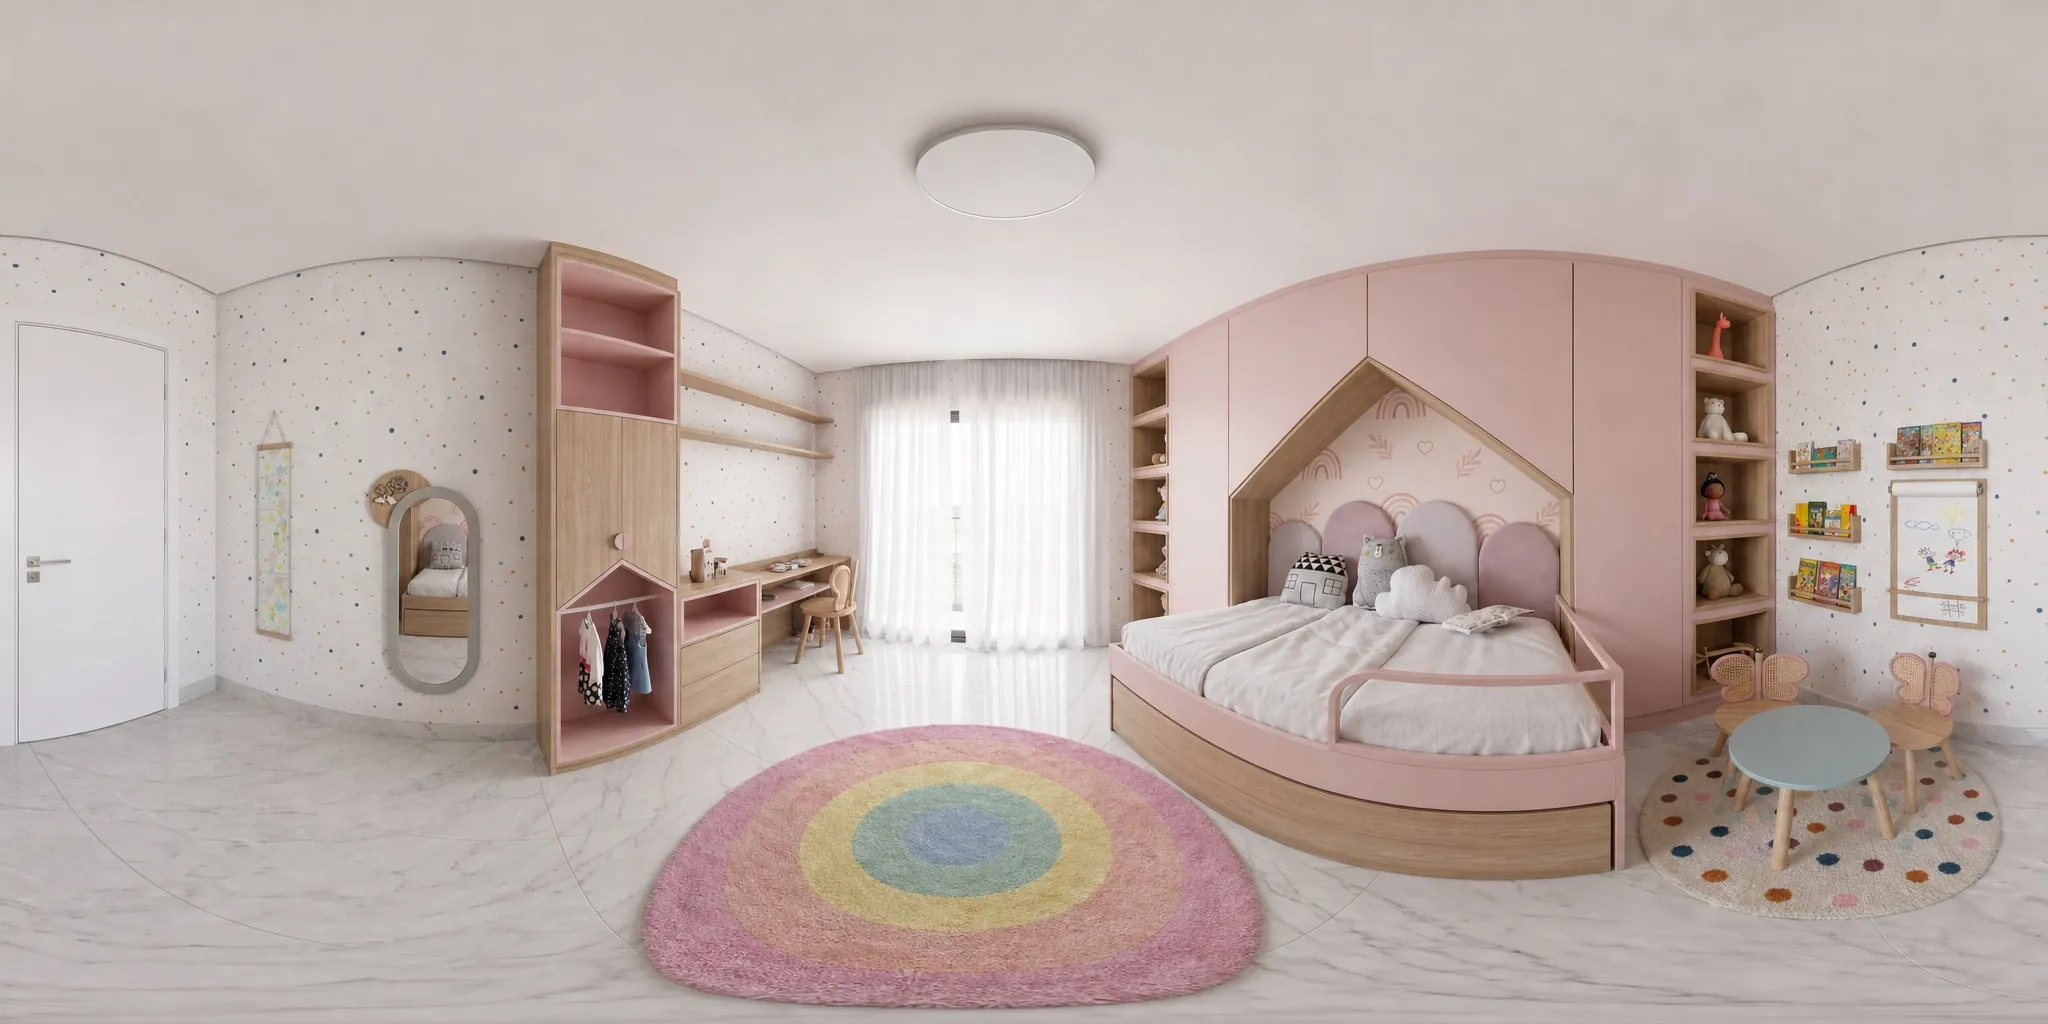
How to generate
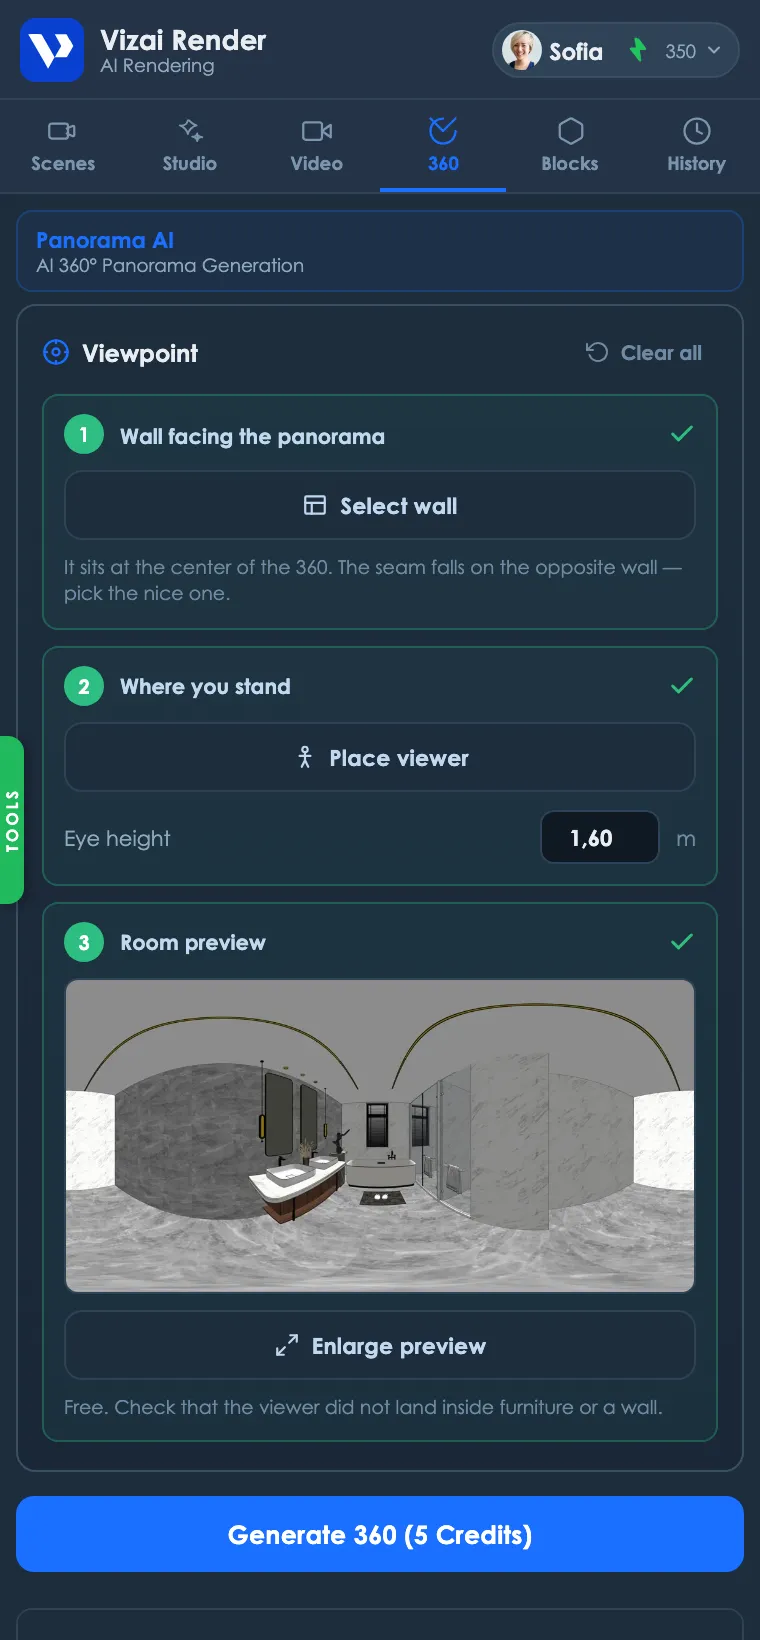
You don't need to render anything first. Click the wall that will sit at the center of the panorama, then click where you stand. SketchUp captures the whole room on its own, in every direction, and assembles the spherical image. The AI turns that capture into a realistic photo.
- 1Pick the wall in front
It sits at the center of the panorama. The seam falls on the opposite wall, so keep your best wall in front.
- 2Mark where you stand
Click the floor, at the spot your client will look from. Eye height comes preset at 1.60 m and you can change it.
- 3Check the preview
The plugin shows the captured room before spending any credit. If the viewer landed inside a cabinet, just redo it. The preview is free.
- 4Generate and share
5 credits. Then: view it in the plugin, download the image, copy the link or send it straight via WhatsApp.
Pick a wall with no furniture pressed against it, and a viewpoint with some room around it. A viewer squeezed into a corner flattens the space; from the middle of the room, the panorama breathes.
Ready to try it yourself?
Create your account, install the plugin and get 8 free credits on your first login.