Seamless Floors (Tools): professional floor tiling in seconds
Create tileable floor textures from any image: porcelain, wood with variations, configurable grout and direct application to faces.
The second tool in the Tools window builds seamless floor textures from standalone images. That porcelain photo from the supplier's website becomes a tiled floor, with grout and the tile's real dimensions. Also local and free.
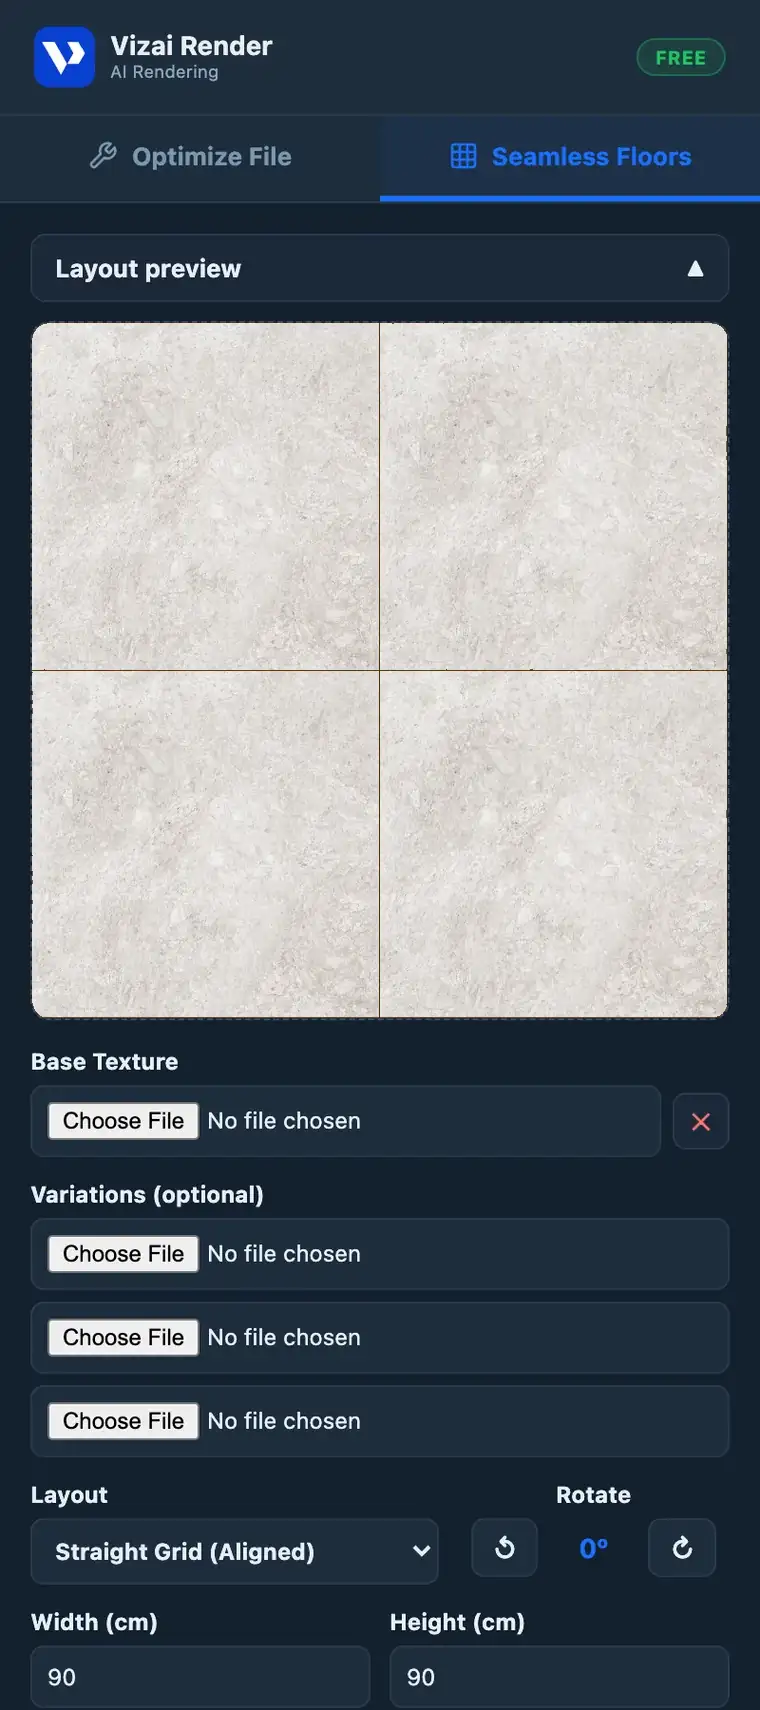
Building the floor
- 1Base texture
Upload the tile image (a photo of the porcelain, wood or tile).
- 2Variations (optional)
Add up to 3 alternative images from the same line. The plugin alternates the pieces and kills the repetition effect, essential for wood.
- 3Layout and rotation
Straight Grid (aligned), 50% Offset or 1/3 Offset, and rotate the tile if needed (vertical planks, for example).
- 4Real dimensions
Tile width and height in centimeters (90×90, 20×120…). The texture lands in SketchUp already at the correct scale.
- 5Grout
Thickness in millimeters and color: gray, beige, black or matching the tile.
Applying to the model
The preview shows the tiling in real time. To apply: select the floor faces in SketchUp before clicking Apply Texture. The material is created and mapped straight onto them. With nothing selected, the plugin activates the paint bucket so you click wherever you want.
Floors with correct tiling and grout raise the render's realism: the AI respects the floor pattern it sees in the scene. Build the floor here before rendering in the Studio.
Ready to try it yourself?
Create your account, install the plugin and get 8 free credits on your first login.